DIY off Grid
The first component we are going to wire is the Charge Controller.At the bottom of the Charge Controller there are 3 signs in my charge controller. The first one from the left is for the connection of the Solar Panel having positive (+) and negative (-) sign. The second one with plus (+) and minus (-) sign is for the Battery connection and the last one for the direct DC load connection like DC lights.
As per charge controller manual always connect the Charge Controller to the Battery first because this allows the Charge Controller to get calibrated to whether it is 12V or 24V system. Connect the red (+) and black (-) wire from the battery bank to the charge controller.
Note : First connect the black /negative wire from the battery to the charge controller's negative terminal, then connect the positive wire.
After connecting the battery with charge controller you can see the Charge Controller indicator led lights up to indicate the Battery level.
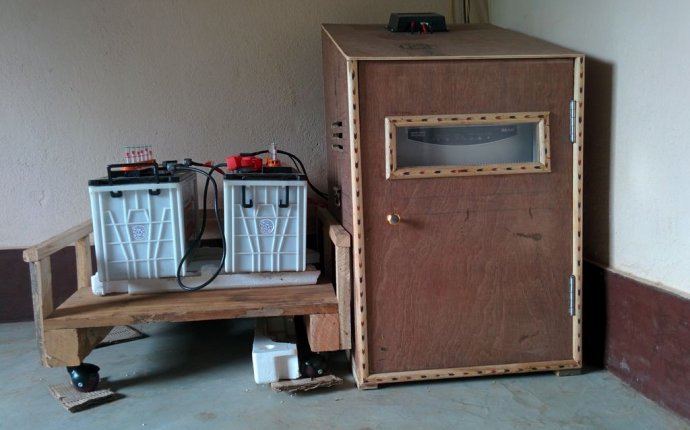
After connecting this inverter terminals for battery charging is connected to corresponding positive and negative terminals of the battery.
Now you have to connect the solar panel to the charge controller.At the back side of the Solar Panel there is a small junction box with 2 connected wires with positive(+) and negative (-) sign.The terminal wires are normally smaller in length.To connect the wire to the charge controller you need a special type connector which is commonly known as MC4 connector.See the picture.After connecting the solar panel to the charge controller the green led indicator will light if sunlight is present.
Note : Always connect the Solar Panel to Charge Controller while facing the Panel away from the sun or you may cover the panel with a dark material to avoid sudden high voltage coming from the solar panel to the Charge Controller which may damage it.
SAFETY :
It is important to note that we are dealing with the DC current. So the positive (+) is to be connected to positive (+) and negative (-) with negative (-) from Solar Panel to Charge Controller. If it gets mixed up, the equipment can go burst and may catch fire. So you need to be extremely careful when connecting these wires. It is recommended to use 2 color wires i.e. red and black color for positive (+) and negative (-).If you don't have red and black wire you may wrap red and black tap at the terminals.
Connect the dc load or dc light at last.
Additional Protection :
Though charge controller and inverter have inbuilt fuses for protection, you can put switches and fuses in the following places for additional protection and isolation.
1. In between solar panel and charge controller
2. In between charge controller and battery bank
3. In between battery and inverter
Metering and Data logging :
If you are interested to know how much energy is produced by your solar panel or how much energy being consumed by your appliances you have to use energy meters.
Besides this you can monitor the different parameters in your off grid solar system by remote data logging
For diy based energy meter you can see my instructable on ENERGY METER which have both metering and data logging capability.


